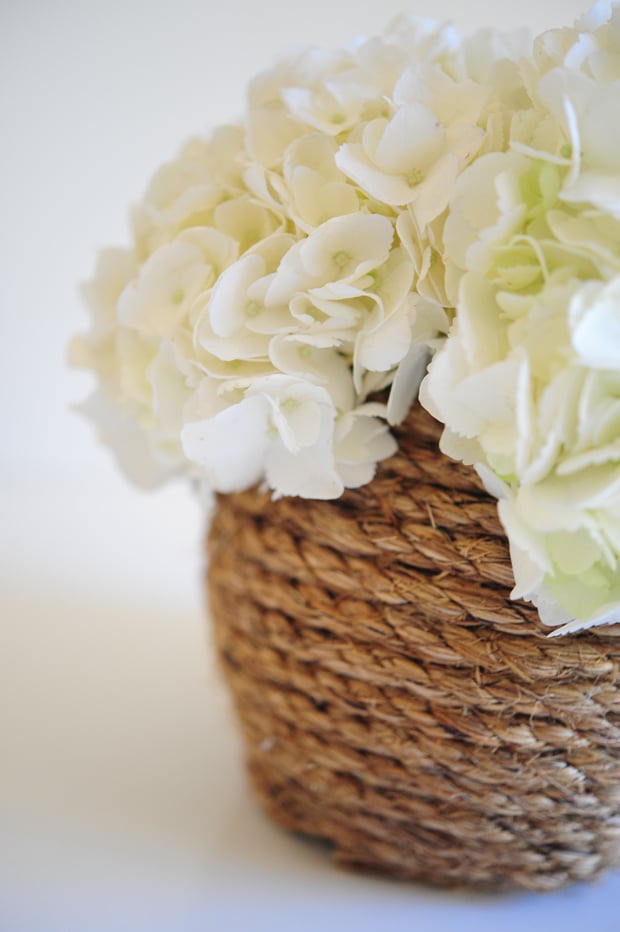
I find the best DIYs usually end up being the simplest. If it’s going to require me to buy out an entire craft store or set aside a full day, I can’t commit. This simple rope vase is a chic solution to spicing up an old glass vase. I love how the end result looks expensive and adds a nautical twist to your space without going too over-the-top Martha’s Vineyard. Here are the steps I took:

Items you need: rope (I got mine at Lowe’s), a glue gun, and a circular vase.

Start by flipping your vase over so the opening is face down on the table. Using your glue gun, secure the rope end to one side of the base. Start wrapping the rope around the vase and glue as you go. I glued about 6 times each wrap (every inch or so). After every time you glue a section of the rope down, make sure to put pressure on it for 10 seconds so that the entire thing is secure.


When you get to the top of your vase, cut off the excess rope (I used gardening shears for this since it was thick) and glue down the final piece.


P.S. Sparkly Rustic Tray DIY, Perfect Bouquet DIY, and Burlap Covered Vases with Wildflowers.