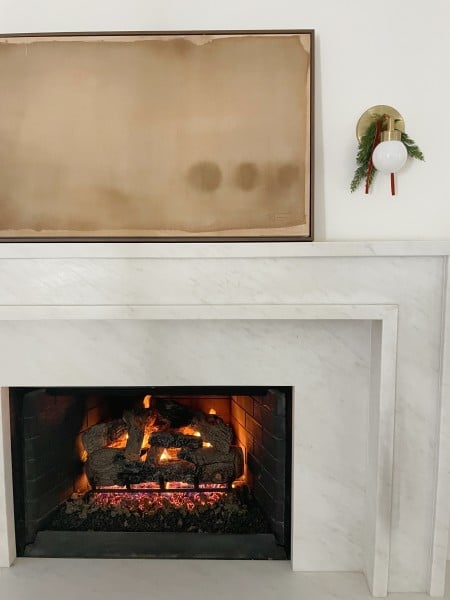
One of my favorite framing styles is the “floating” frame – with the art set back from the glass, not touching the back matting – but getting this done professionally (depending on the print size) can be pretty expensive, so after talking to a guy at the frame store I decided to mount a print myself and am really happy with the results. It wasn’t difficult and as long as you’re very precise with the measurements, it can turn out really well and be much more cost effective. Here are the steps I took.

What you’ll need: a thin foam board (1/8″), wire cutters, clear spacers, ATG 924 tape (or some strong double stick tape), a mounting board that fits inside the frame, a frame and a heavy book. The total for everything (I already had the wire cutters) was around $60.

Step 1: If your print is rolled up, unroll it and place a heavy book on top. You can do this a few days in advance to make sure the piece is completely flat. If it’s already flat, you can begin on step 2.

Step 2: Cut your foam board down to a size that it fits inside the print, leaving a 1/2″ border on each side. Place your print face down and center the foam board in the middle, then using your pencil, make tick marks for each corner.

Step 3: Just inside the 1/2″ area on the print (using the tick marks as guides) attach the doubled sided tape. You want the print to be very secure on the foam board, so use a good amount.

Step 4: Place the foam board back on to the print, sticking it to the tape. Place a book on top of the poster board to secure the bond and let them rest.

Step 5: Next, take the clear spacers and measure them to fit inside the frame. Cut them to the appropriate size, using the wire cutters.

Step 6: Take the adhesive covering off the clear spacers and stick them directly on to the glass, pushing them up next to the frame so they’re hidden.

Step 7: Center your art (attached to the foam board in step 4) on the mounting board to get a good idea of where it will be placed. You can also use little tick marks with a pencil to make sure you center it properly. Put more adhesive tape on the back of the foam board to adhere to the mounting board.

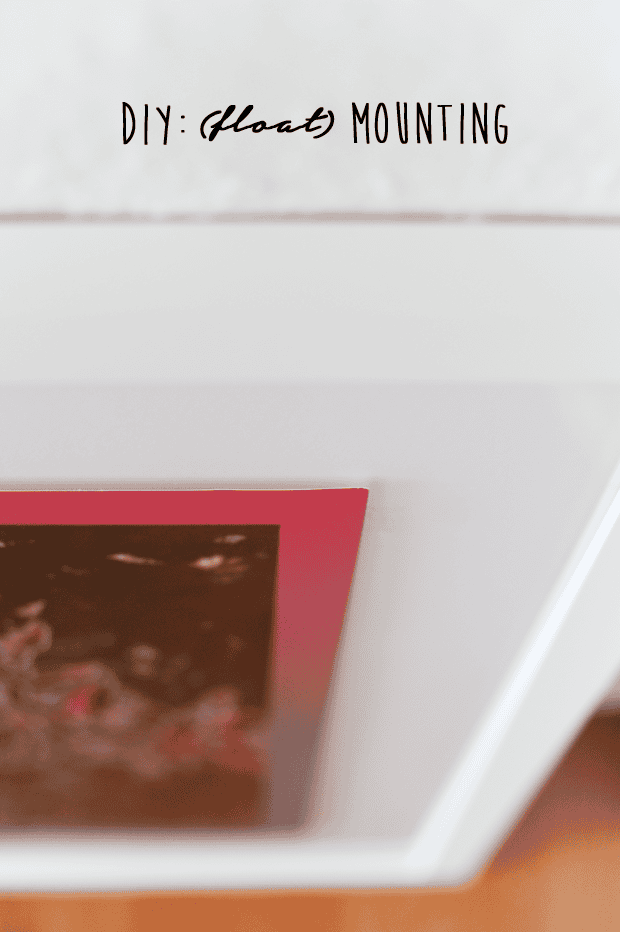
Step 8: Make sure the foam board is very secure to the mounting board, as it will not be pressed up against the glass to keep it in place. In this image, you can see the floating effect.

Step 9: Clean the inside of the glass so no dust or particles will be stuck in there with your mounted piece.

Step 10: Place the entire mounted piece face down on the glass (it will not actually be resting on the glass because of the spacers in step 6). Then fold all of the brads down to keep everything in place.


*print by Charlie Rubin