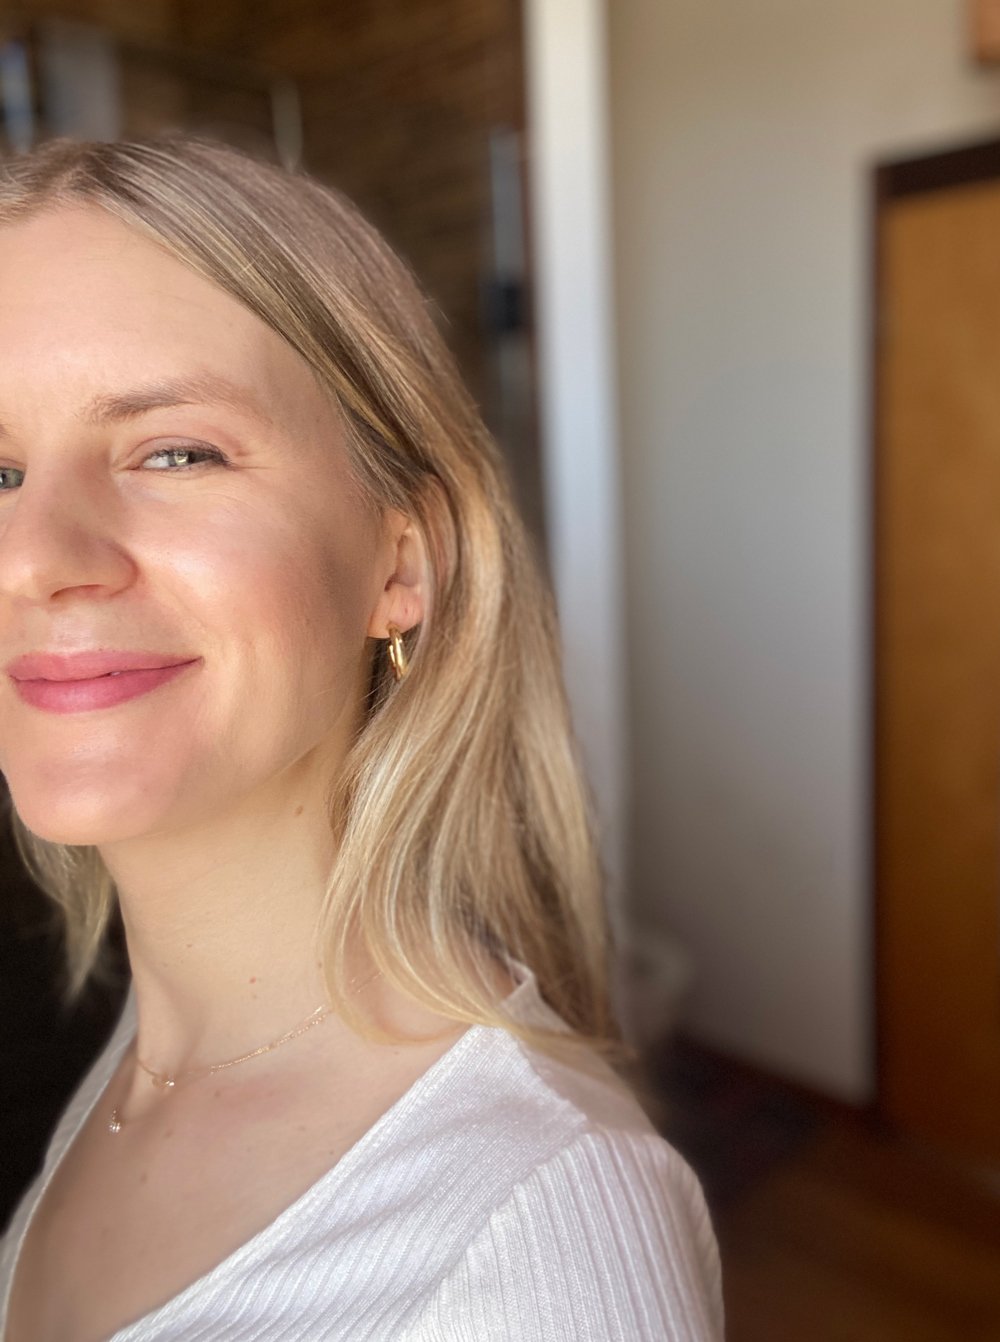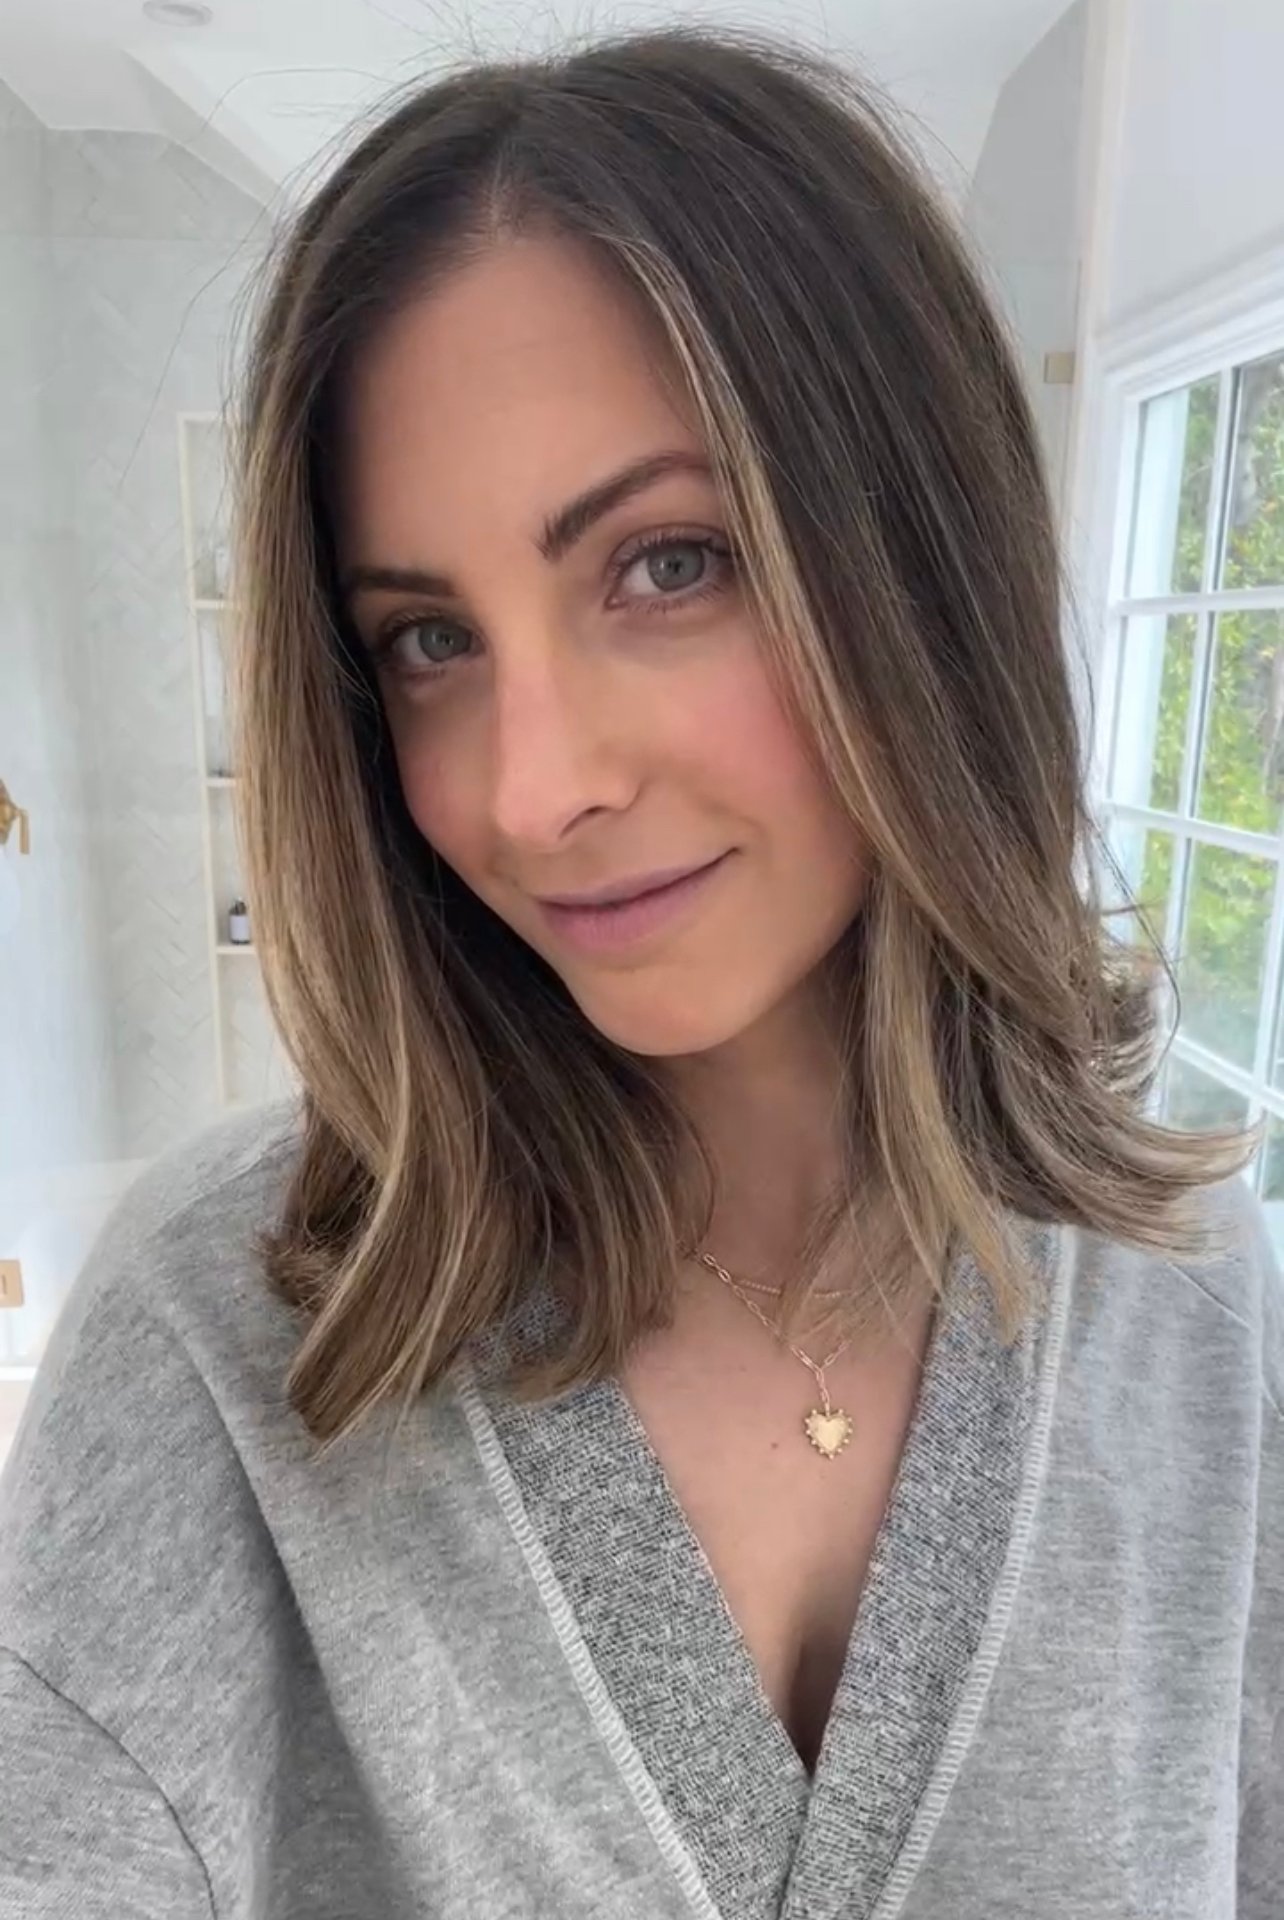
If you can’t tell, I have commitment issues when it comes to styling my hair. If it’s long, I prefer a more natural, air-dried look, with medium length I’ll throw in messy waves, and now that it’s shorter, I’ve been going for a classic blowout. It starts sleek and swingy, and can be touched up to avoid washes for nearly a week (which I prefer!). If you’re going for something similar, I have five major tips below that can help you achieve and maintain that just-out-of-the-salon hair for a few days.
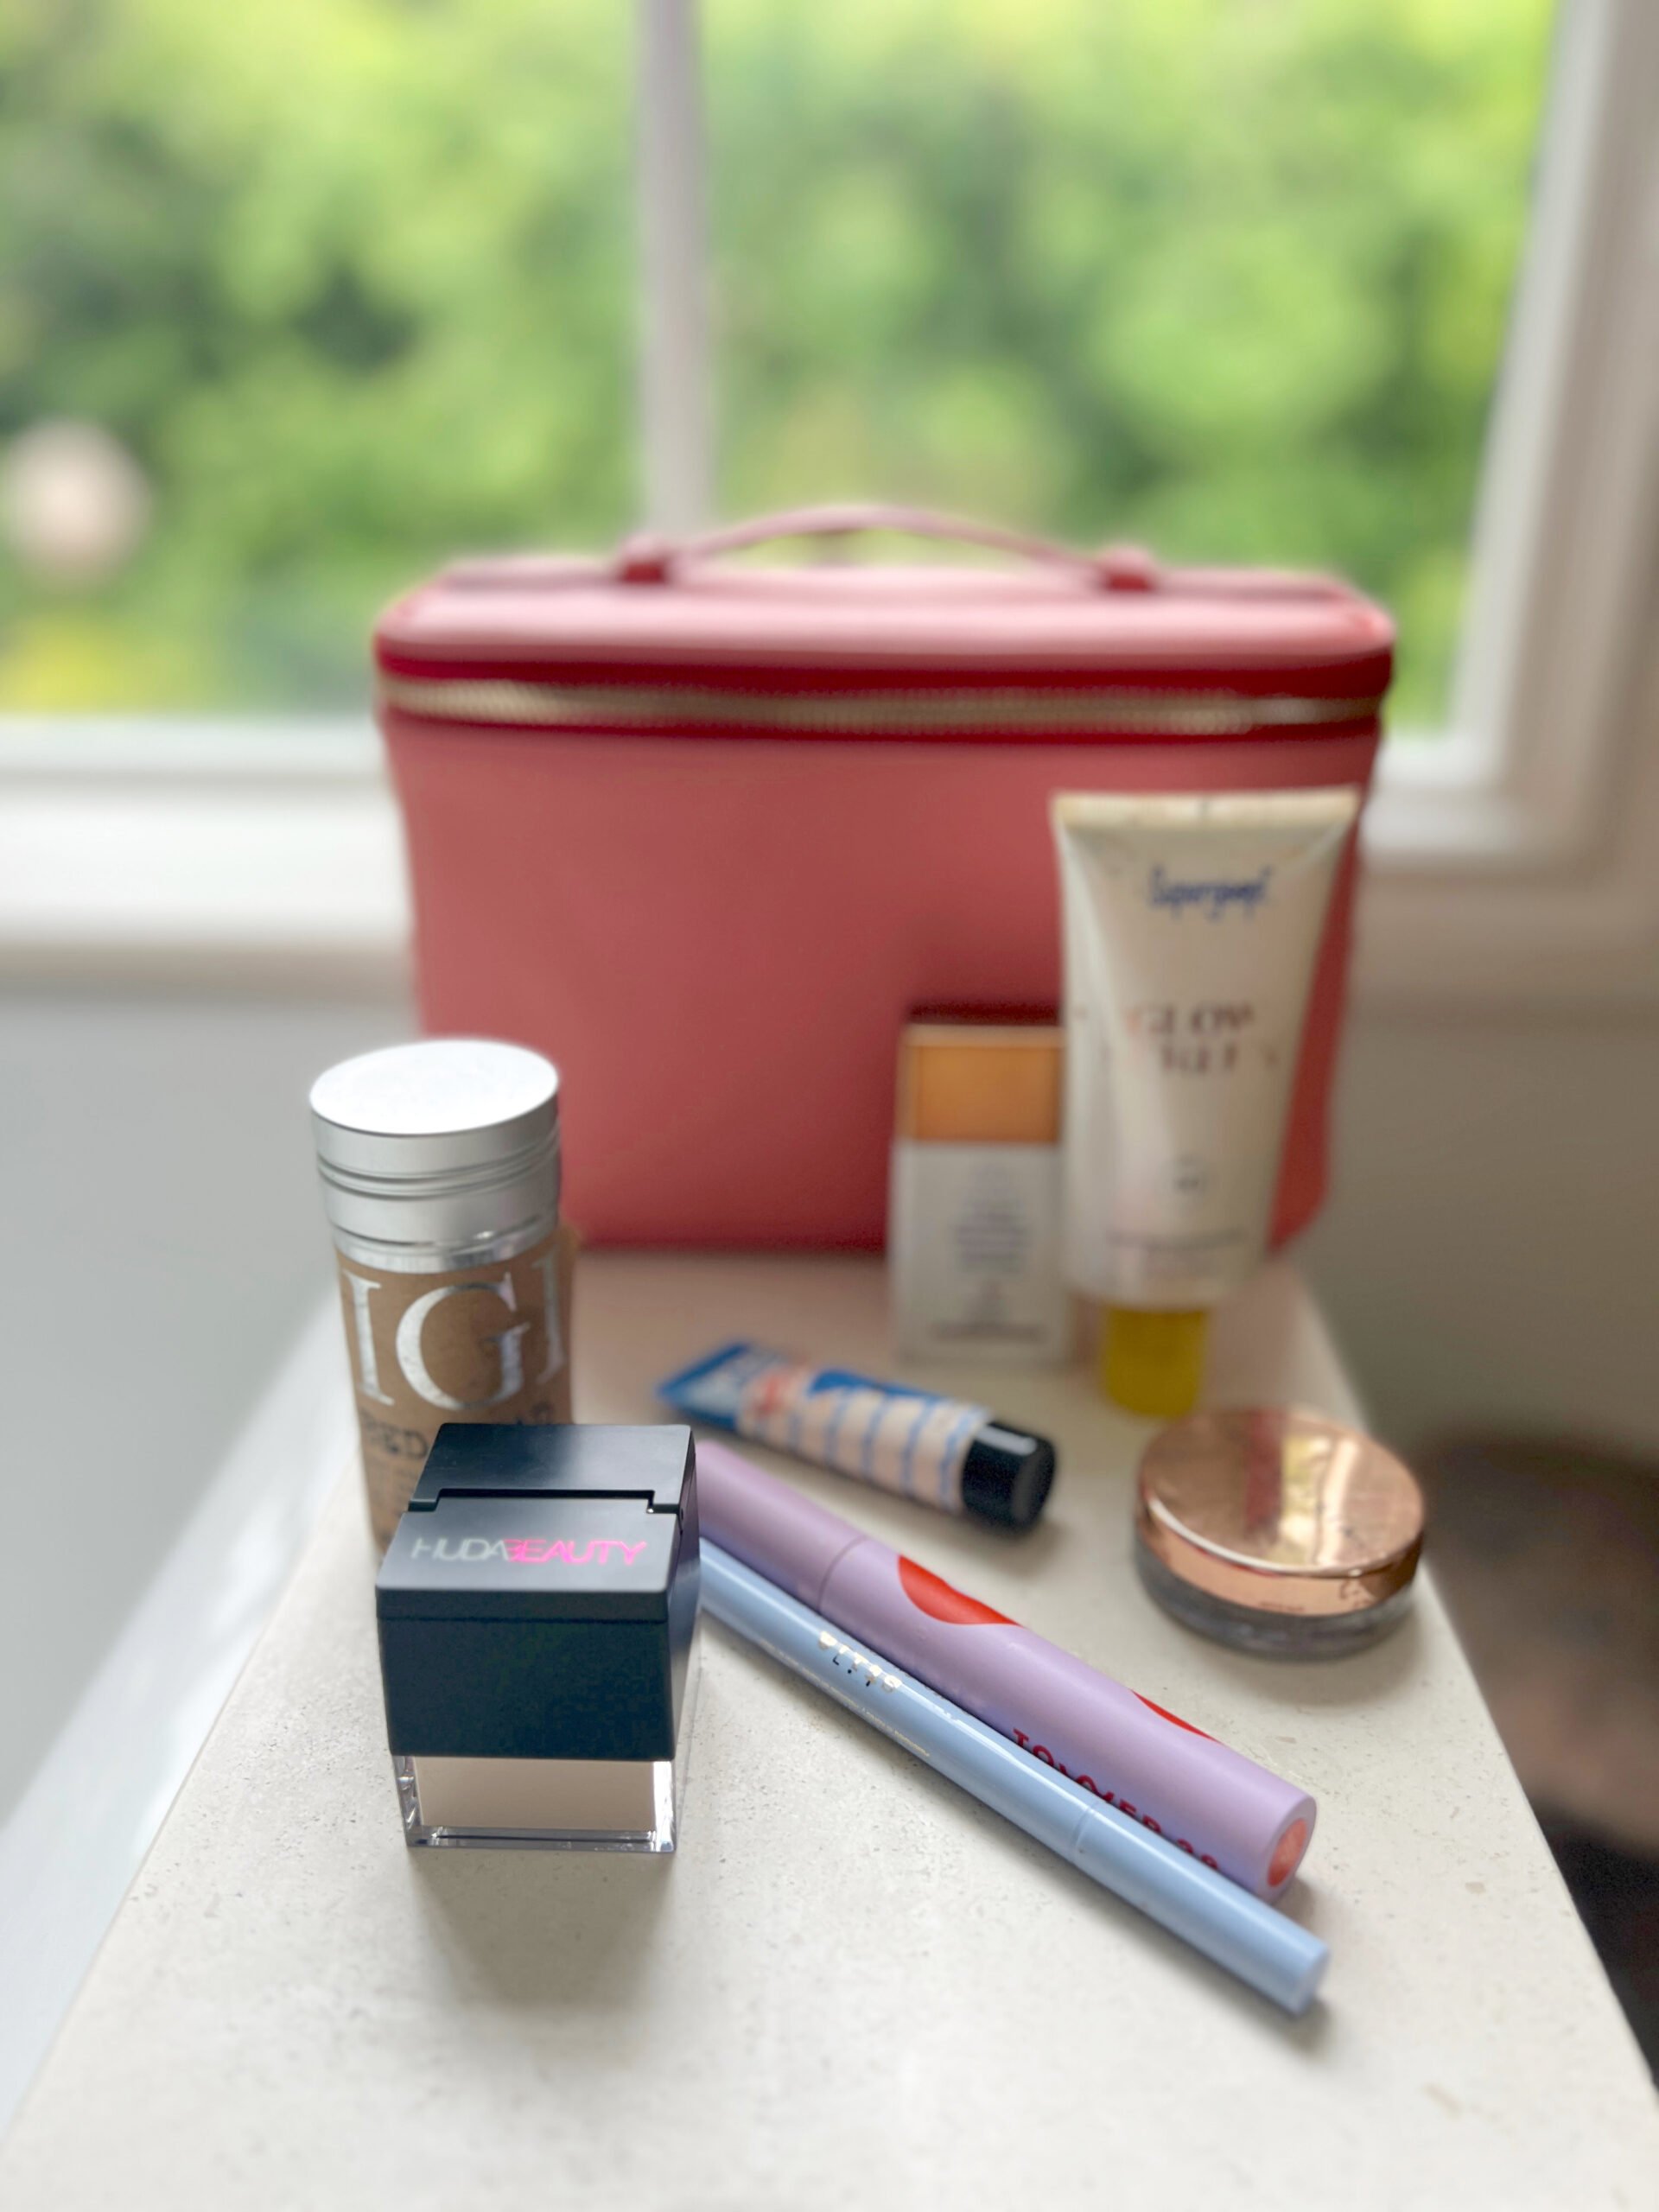
And for those curious about the products I used, I’ve linked them here:
Hair towel: Aquis Rapid Dry Lisse Hair Towel
Round brush: RAINCRY Smooth 2.0 Medium Pure Bristle Brush
Blow Dryer: Old Elchim (similar here)
Clips: Drybar Hold Me Hair Clips
Scrunchie: Kitsch Satin Scrunchies
Heat protectant: Olaplex No. 06 Bond Smoother
Hair oil: Roz Santa Lucia Styling Oil
1. Leave hair in a towel for 10 minutes, then use a heat protectant. This is the first thing I do after I’ve washed my hair, regardless of whether I’m going to blow it out straight, air dry, or add waves. It not only helps it dry faster (which leads to less frizz), but keeps it out of my face while I apply my makeup and get dressed. Once some of the moisture is out, I’ll add a heat protectant serum that also helps with shine.
2. Rough dry hair until 75% dry and then start with bottom layer. As someone with color-treated, coarse, frizz-prone hair, it’s imperative that my hair is bone dry once it’s been styled or else it will be a puffy mess. Because of that, I’d always assumed that I had to section off and blow dry every section of my hair in order to get it to look the way I want, which takes a loooong time. So now in order to save time and the extra tugging from a round brush, I start by moving the blow dryer around my head, using my hands to tousle it as I go. Once it’s no longer sopping wet, I section it out, and dry with a round brush, beginning with the bottom layer.
3. Split into three sections: right, left, and middle. Once I’ve dried the bottom layer, I move onto the top sections, which I split into three: right, left, and middle. I work my way around from front to back, on the right side, move over to the left, and then end with the top section.
4. Finish with the middle section, brushing forwards and parting after it’s dry to get the most volume. I always end with the middle section, brushing it forward, and to both sides so that it’s swingy. Only after each section is dry do I then use a comb to part my hair, which results in lots of volume and good movement.
5. Add a small amount of hair oil for definition and shine. I don’t like to add too much product to my hair (either when it’s wet or dry) since it weighs it down and I can’t go as long between washes. I’ll add a little oil to my ends, which I then work up towards the root once there isn’t as much left on my hands, for some definition and shine.