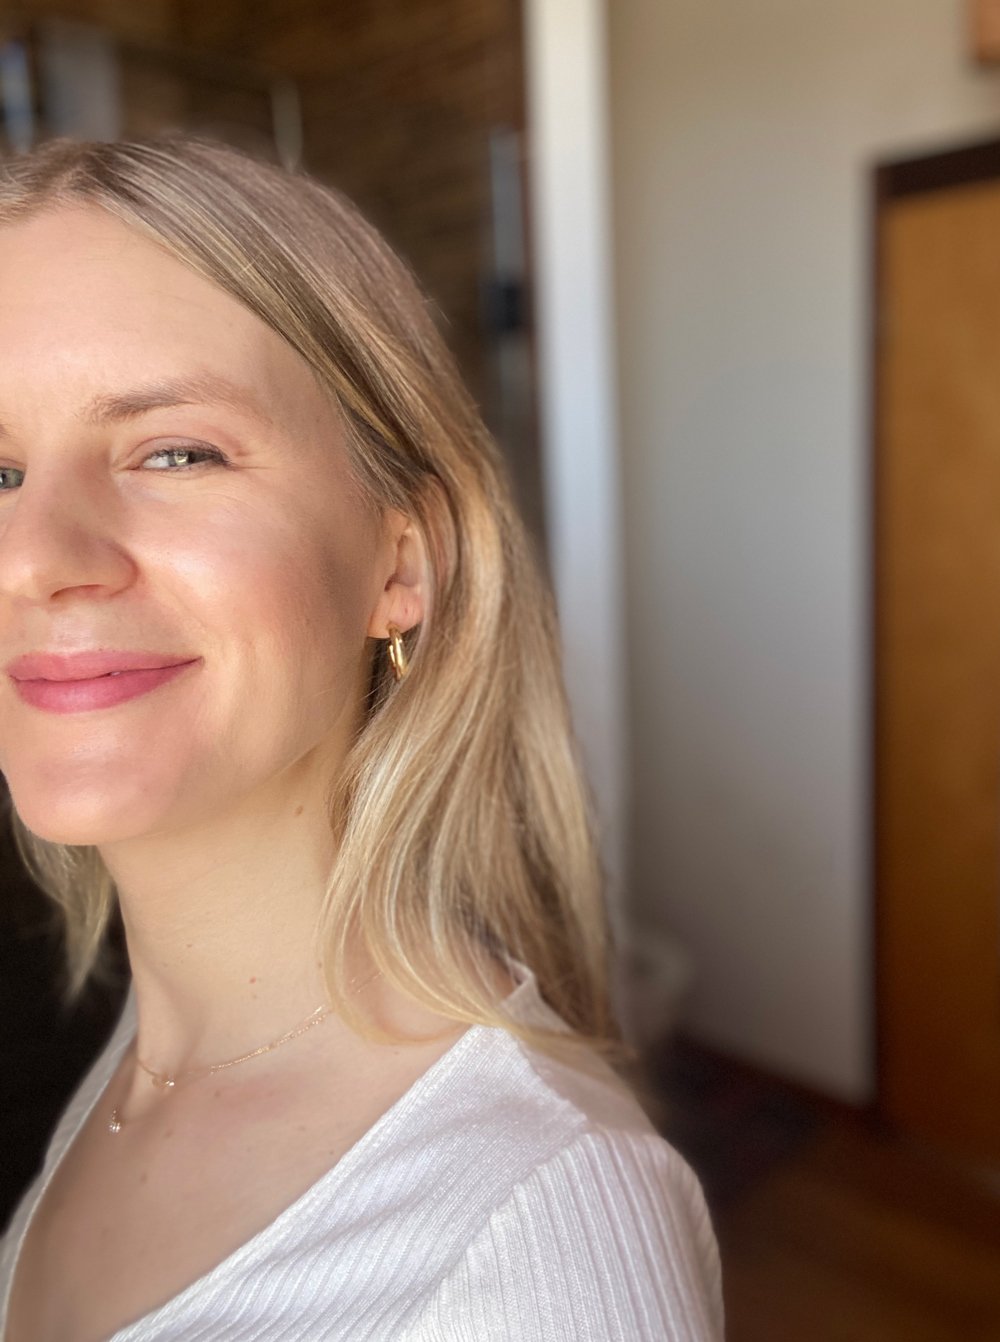
During my first (and likely last) haircut of 2020 back in January, my stylist changed my life.
We were at that point post-blow dry where she asked if I wanted to leave my hair slick and straight or wavy. I figured that if I was paying for it anyway, I may as well ask her to throw in some curls–but instead of turning on the curling wand, then she went for a straightener. I watched as she demonstrated an “S” wave I’d never seen before, but clearly worked with my natural curls, rather than against them.
As she click-clacked the flat iron over pieces of my hair, I tried to capture a mental picture of her movements. When she noticed my intense (…and likely creepy) stare, she offered to teach me her technique, and I’m so grateful she did. Since I’m a night showerer (is that a word?), her “S” wave has cut down the time I spend on my hair from 25 to roughly five minutes, and I no longer have to use two separate heat tools to get my desired look.
Recently, we received enough DMs from you all on @shopcupcakesandcashmere to warrant a tutorial, so I walked you through exactly how it’s done.
Note: This works particularly well because I have naturally wavy/curly hair. It may not be as successful for everyone, but I encourage you to give it a try!
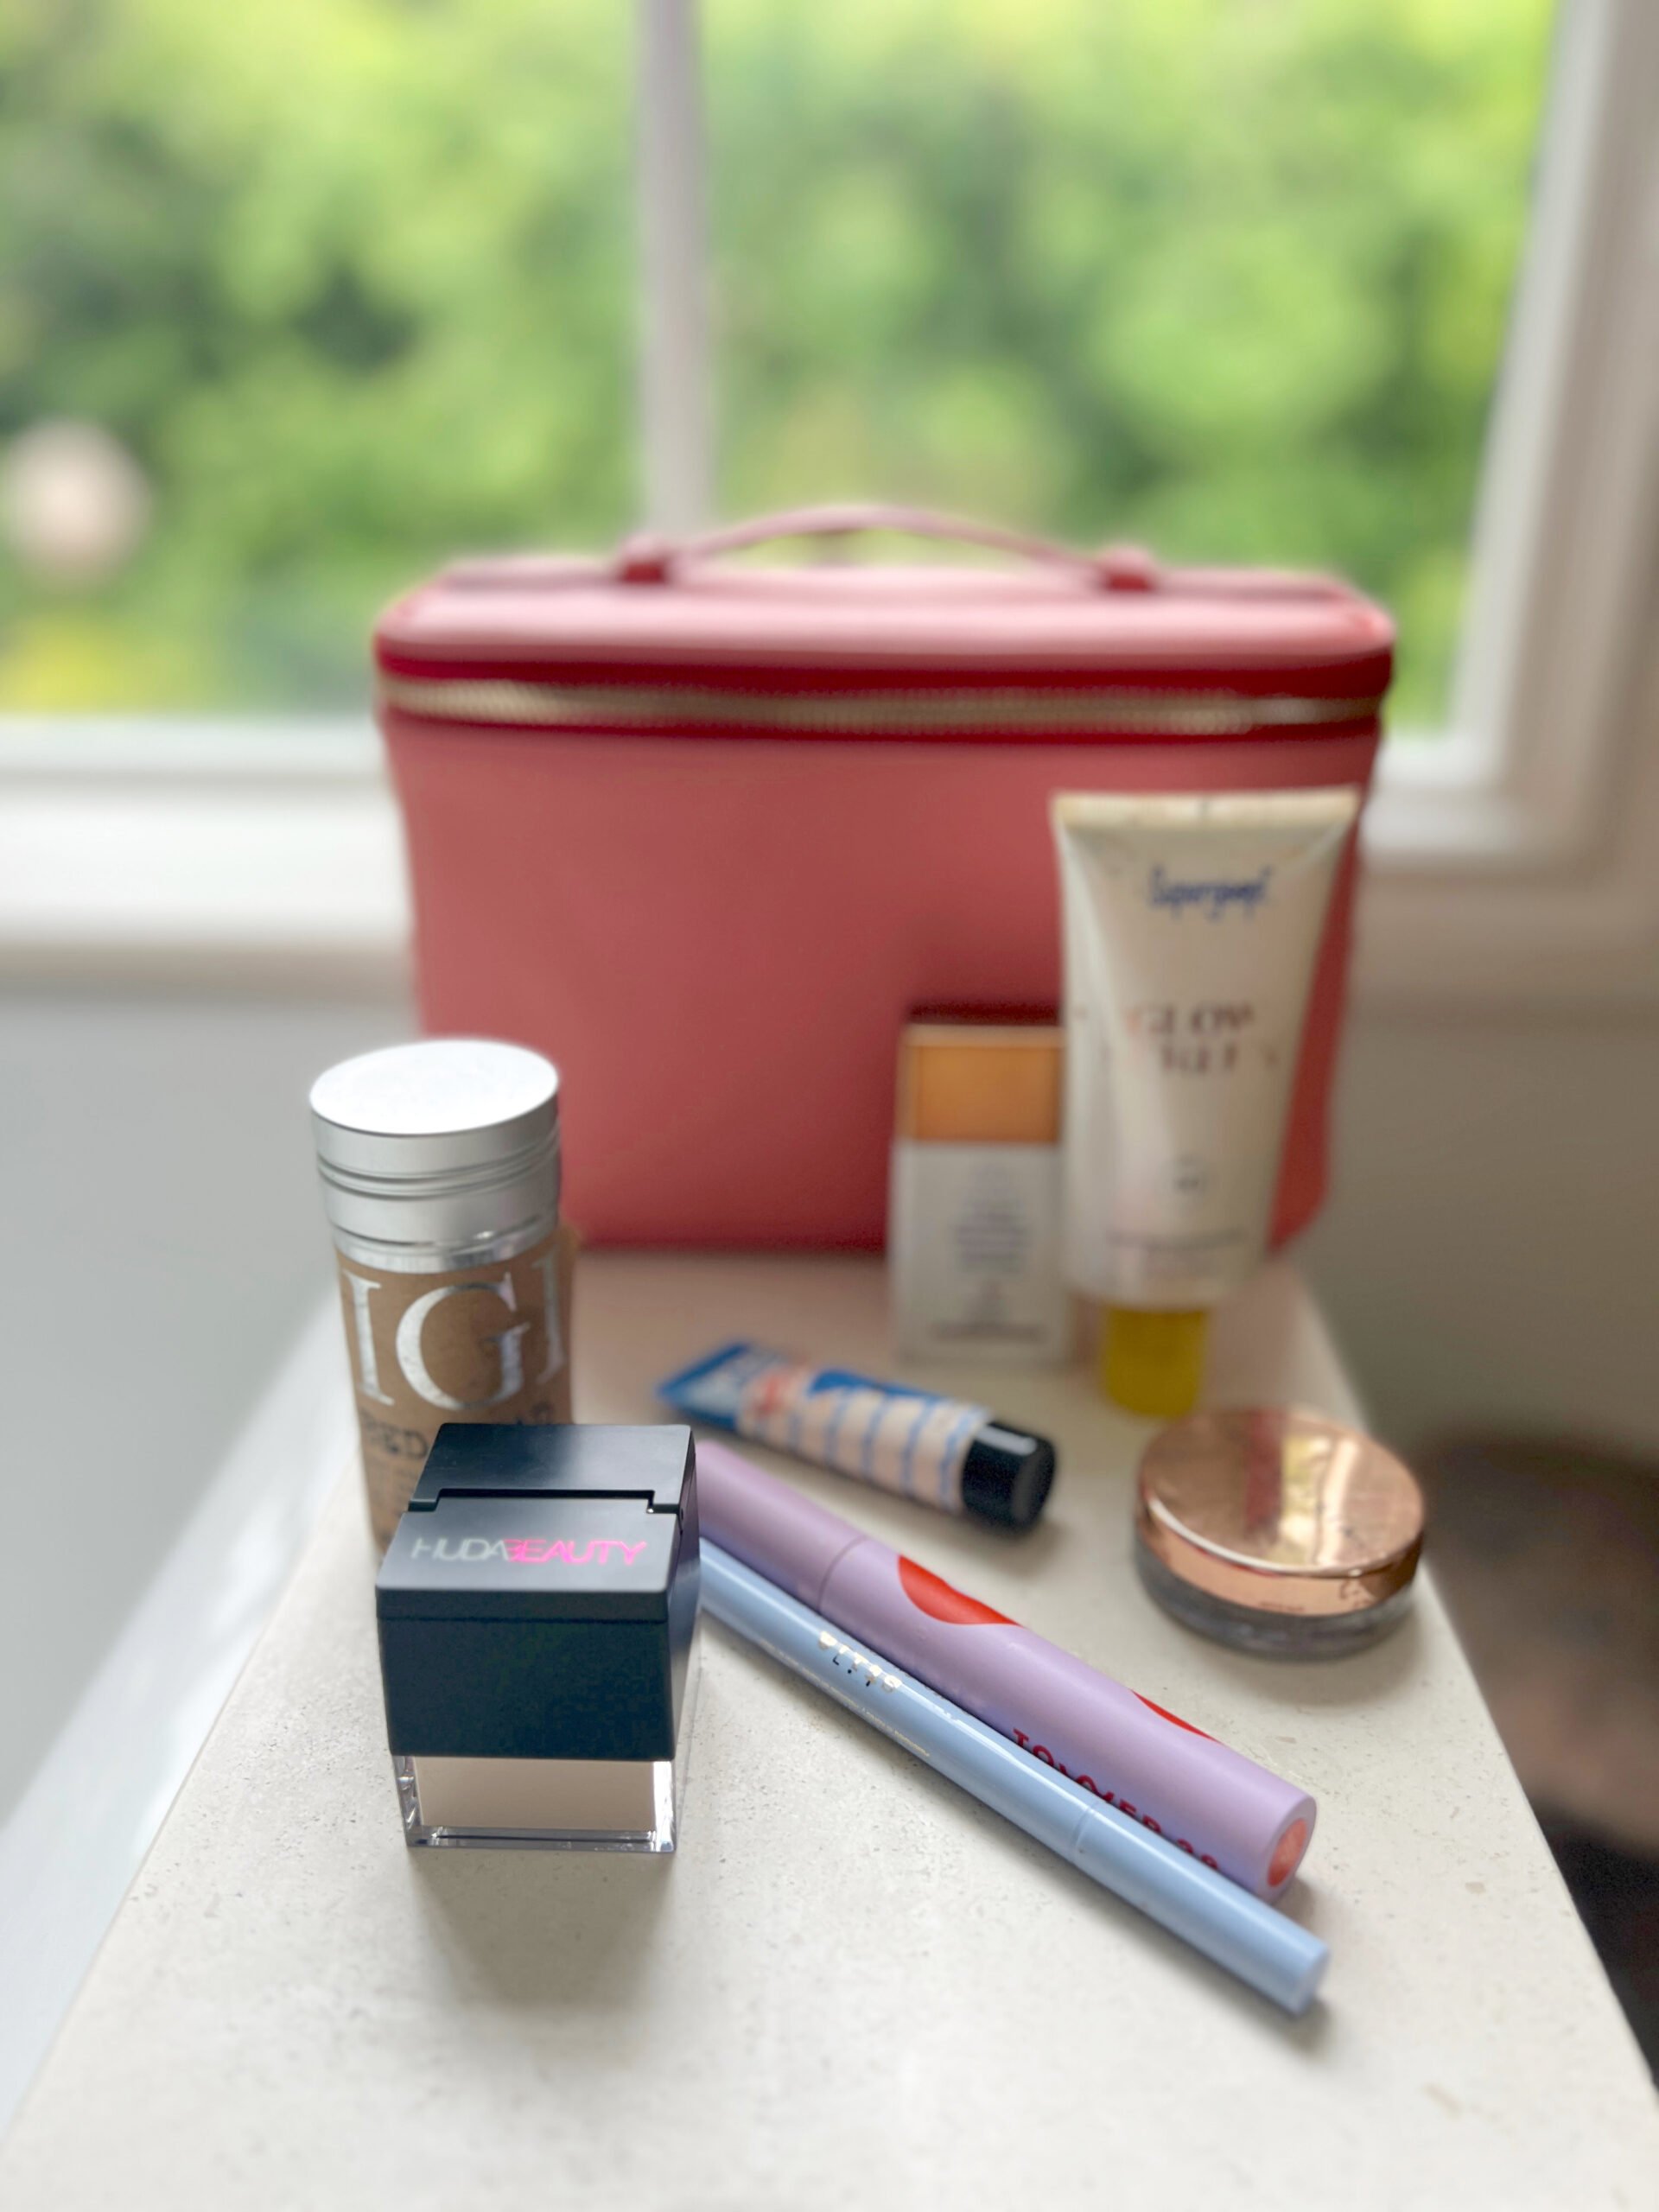
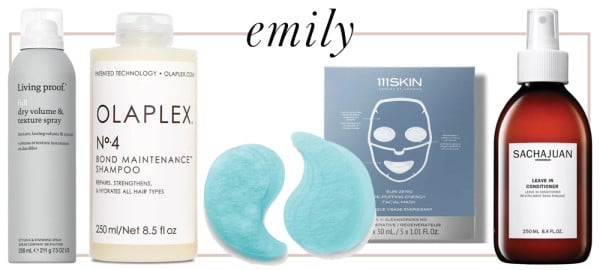
1. In the evenings, I apply one pump of this Kerastase Elixir Ultime Oil Serum to my wet hair. This controls any potential frizz, and preps it for the heat tools in the morning.
2. When I wake up, my hair is a little all over the place. I turn on my flat iron (I love this one) and lightly run it through any cowlicks or kinks that developed from sleeping on my hair slightly damp (these tend to occur on my hairline and on the back of my scalp).
3. If I’m feeling fancy, I’ll spray a bit of Living Proof’s Restore Instant Protection all over. Supposedly, it adds shine and polish while protecting against static, heat, and UV damage, but I really use it because it smells divine.
4. I start at the top of one of the front strands, and bend it a portion so it creates a “U” shape. Tap the flat iron over that piece, and bend the remaining part in the other direction.
5. Keep making that “S” shape and running the flat iron all the way to the bottom of that piece of hair.
6. Section off the next piece of hair and repeat until you mimic it on the other side.
7. Run the flat iron over the last inch or so of your hair for a straighter edge.
8. I finish it off with a touch of Living Proof’s hairspray (clearly I’m a big fan of their products!) and will shoot some of Oribe’s Dry Texturizing Spray into my roots and on the ends to give it volume and make the waves a bit piecer.